Design Receipt Templates For Mobile and Web Apps
Do you have a Sales company where your salespersons visit your customers and take orders? Do you have a scenario where a receipt should be printed and given immediately to the customer with all the order details? Want to create a receipt template for your order form that should be printed and given to the customers after taking an order? This tutorial helps you to create a receipt template for an order form.
You can also create your own form template as per your requirement. Check out the Create a Form page to create a form template from scratch.
In this tutorial, we will create receipt templates for both web and mobile apps. You will get the printed receipt in the format which you designed for the web app when you print the form submission through the web app. Similarly, you will get the printed receipt in the format which you designed for the mobile app when you print the form submission through the mobile app.
Design a Receipt Template for Web App
In this section, we will design a receipt template for an order form that should be printed through the Web App.
-
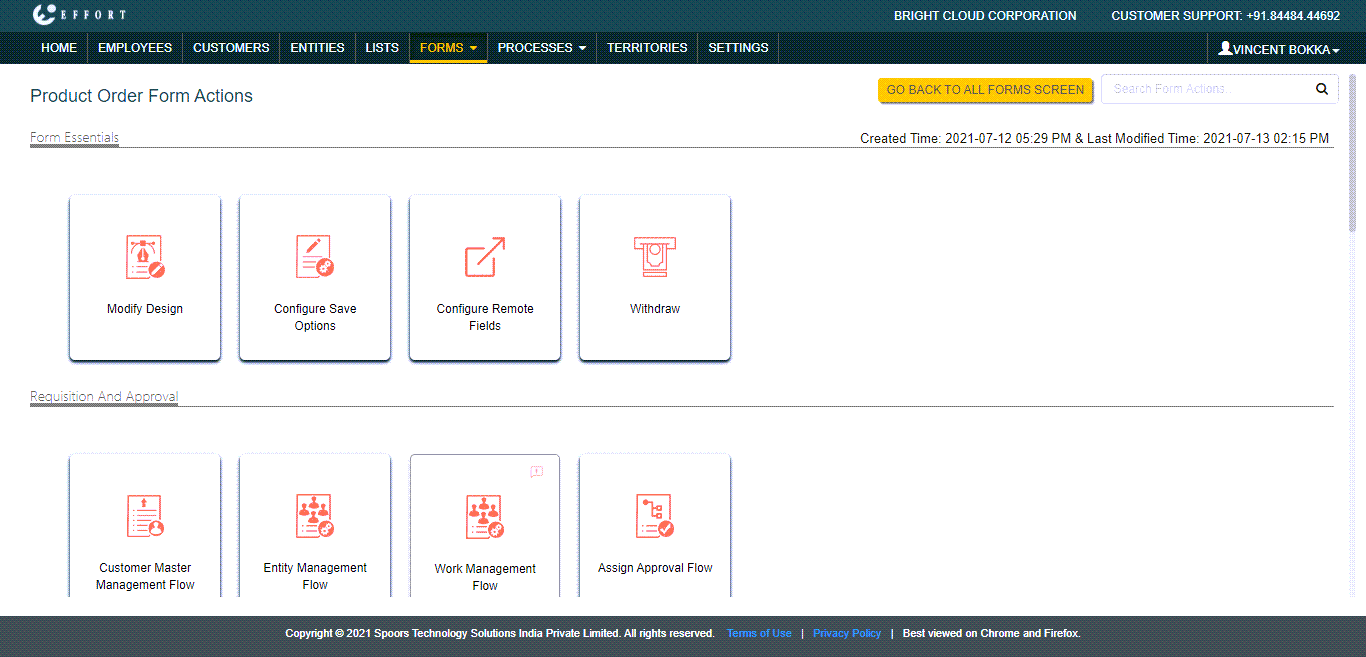
Once you are done with the form creation, you can see the Form
Actions page as shown below. Otherwise, you can navigate to and click on the form which you created earlier.
-
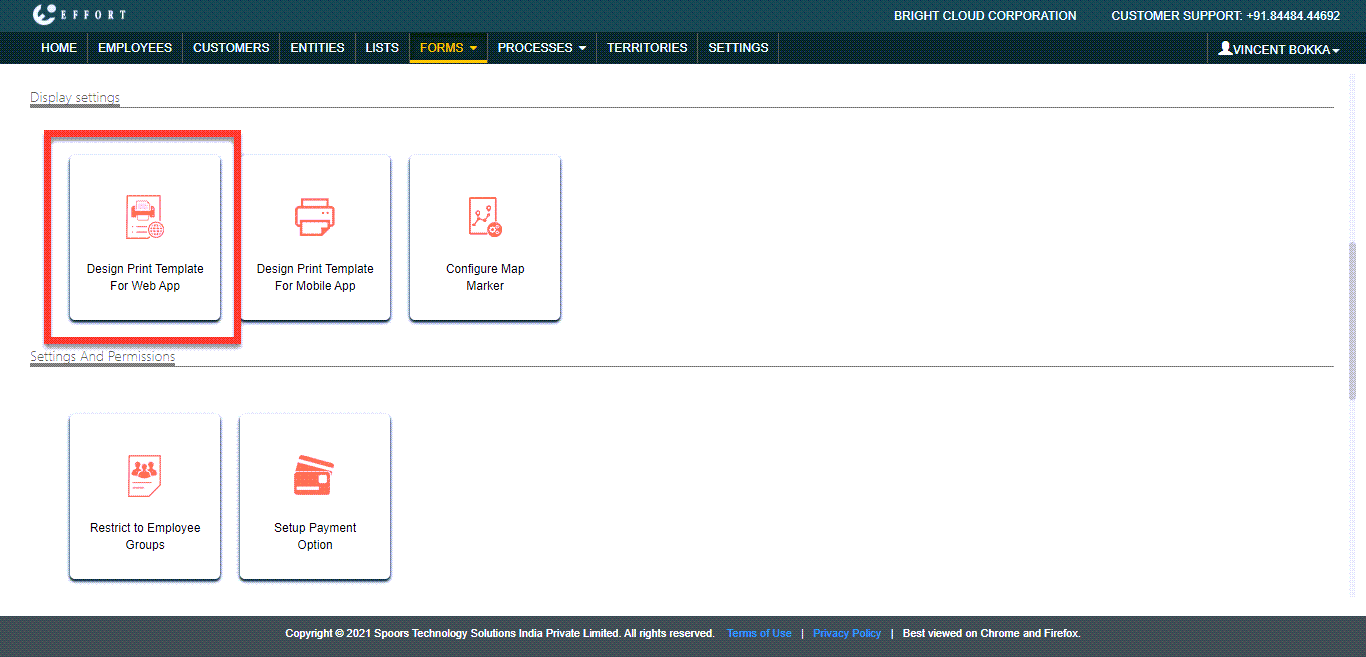
Scroll down a bit. You can see Design Print Template For Web App
under the Display Settings section. Click on it.
-
You can see the form fields on the left side and editor on the right
side.
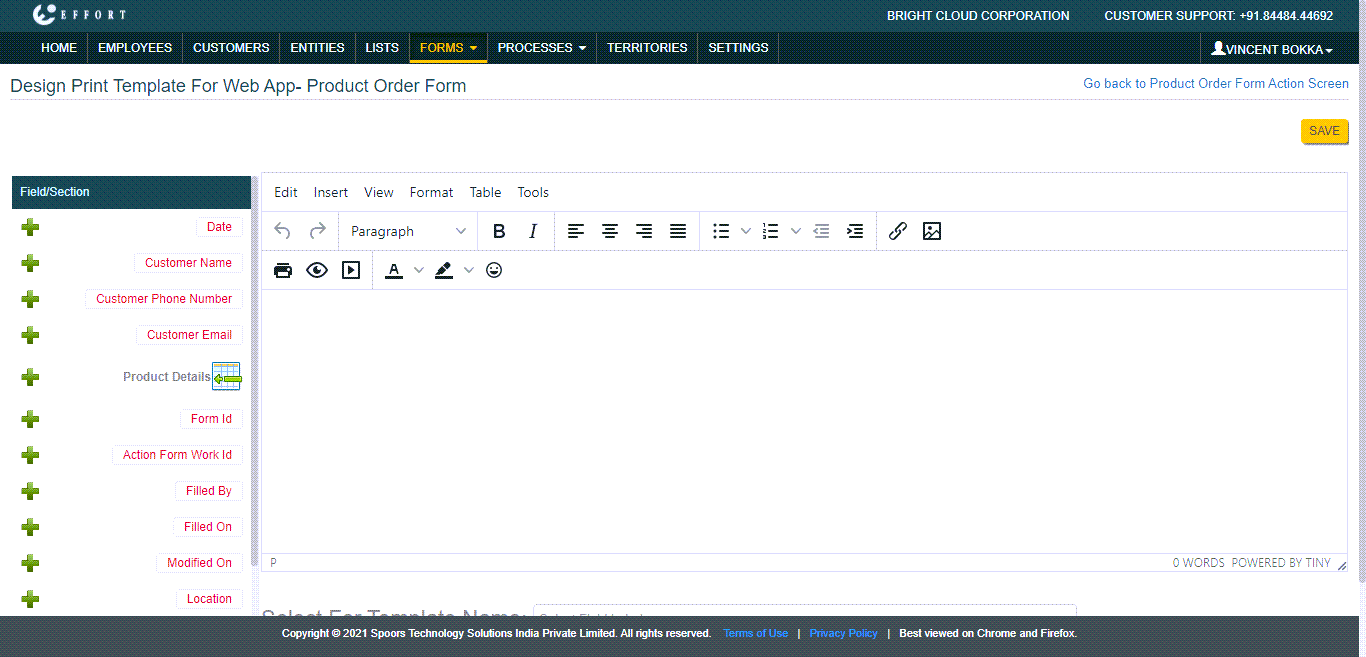
The editor is very user-friendly and looks like a text editor. To get the fields onto the editor, click on the plus icon that is given at each field. -
In the editor section, design a template as per your requirement. You can
see the below image for a sample template design. We have added company
logos, Seller Details, and Customer Details.
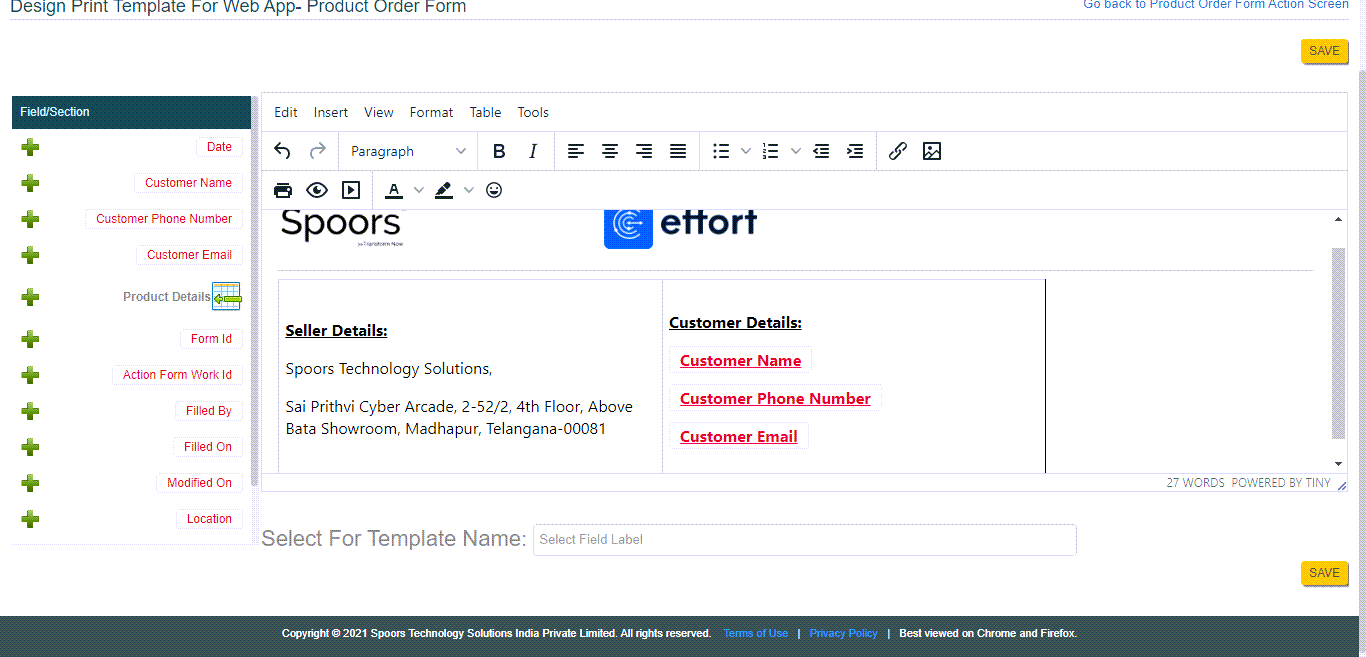
As shown above, we have added form fields such as Customer Name, Customer Phone Number, Customer Email under the Customer Details. The inputs you enter in these form fields will be populated here when you print the template. -
You can add terms and conditions, electronic signatures, logos, offers,
etc. You can see the below image for the complete design.
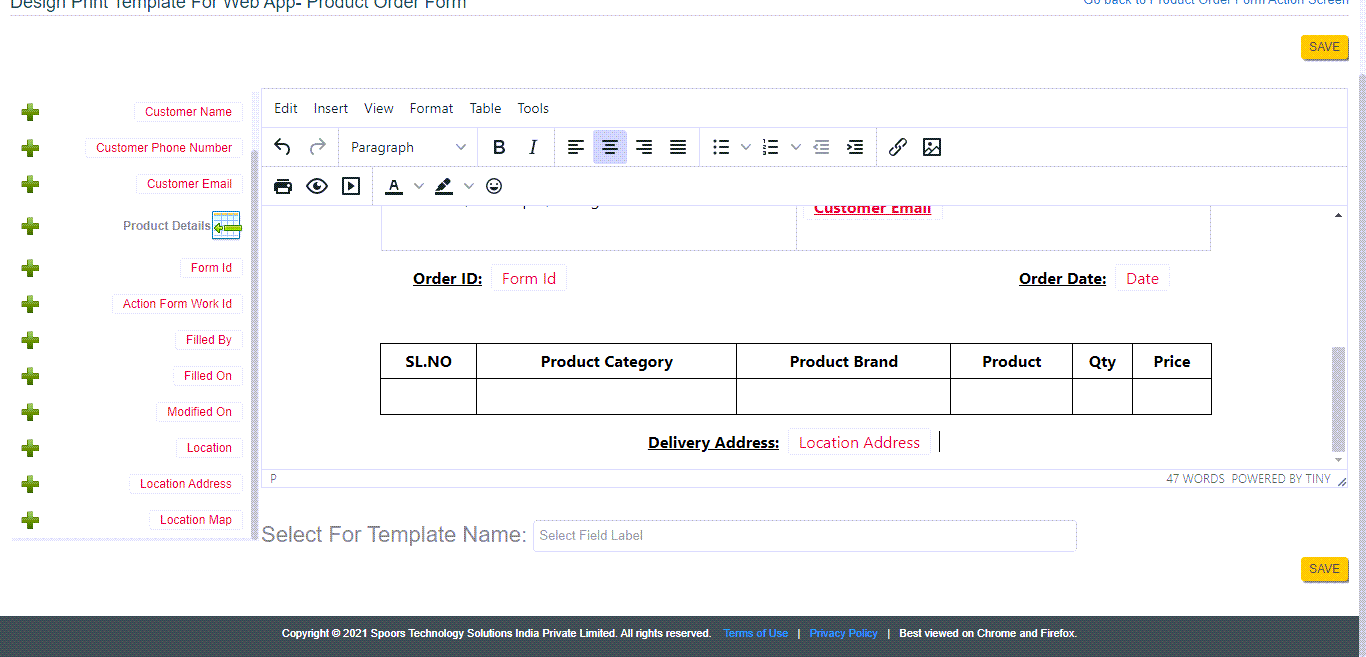
Here, we have added Form Id as Order ID, Date field as Order Date, and Form filled location as Delivery address. Likewise, you can customize as per your needs. - Click Save after completing the template design.
Design a Print Template For Mobile App
In this section, we will design a receipt template for an order form that should be printed through the Mobile App.
-
Once you are done with the form creation, you can see the Form
Actions page as shown below. Otherwise, you can navigate to and click on the form which you created earlier.
-
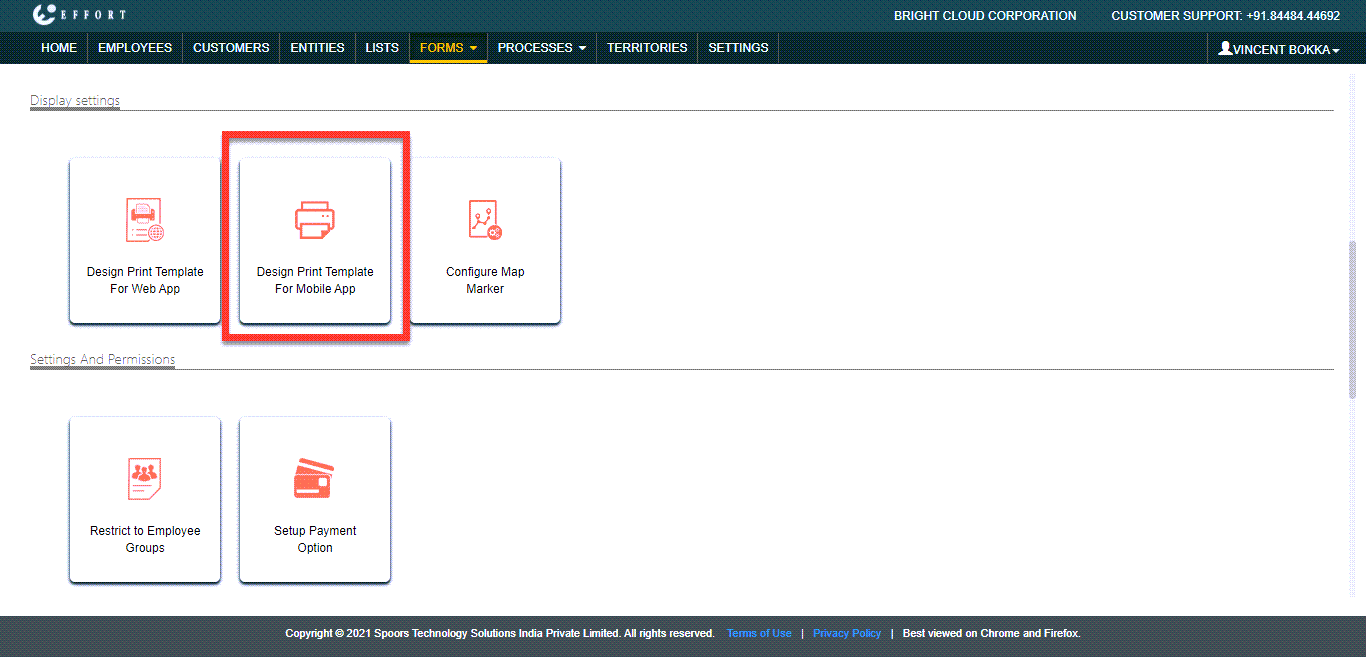
Scroll down a bit. You can see Design Print Template For Mobile App
under the Display Settings section. Click on it.
-
You can see the form fields on the left side and editor on the right
side.
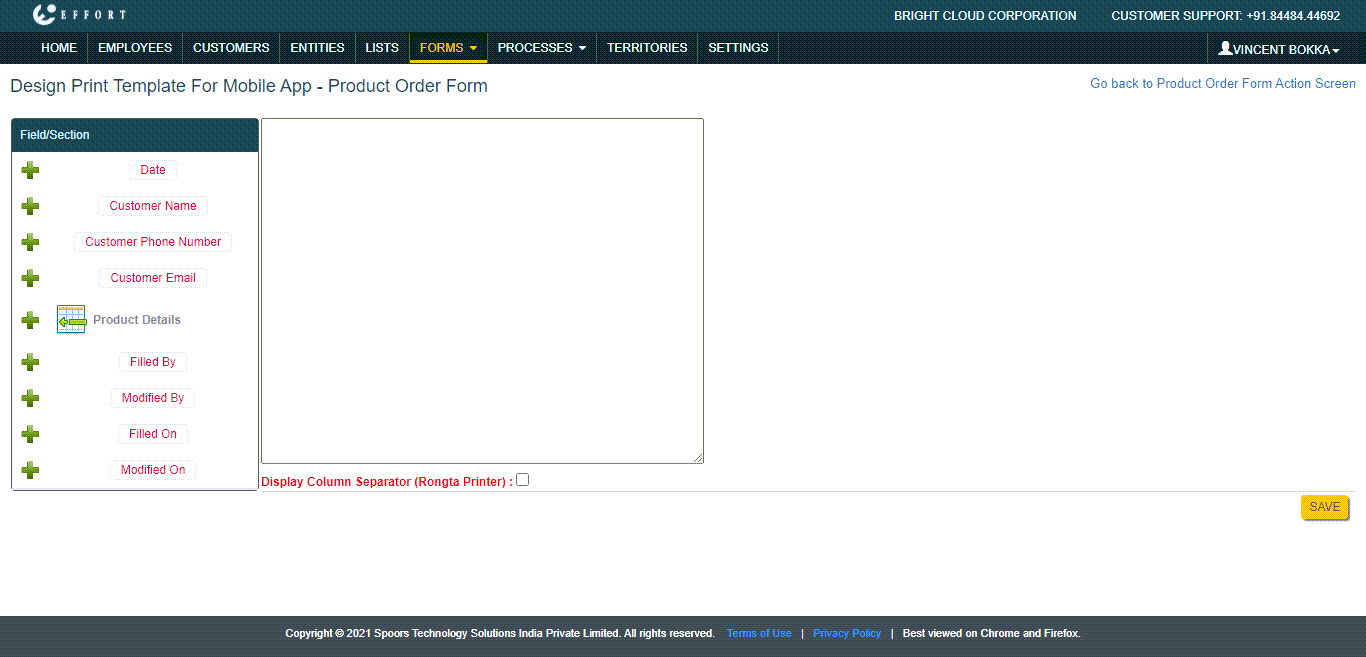
Note: Formatting is not supported for the mobile app print template. You can only add the fields and text. -
In the editor section, design a template as per your requirement. You can
see the below image for a sample template design.
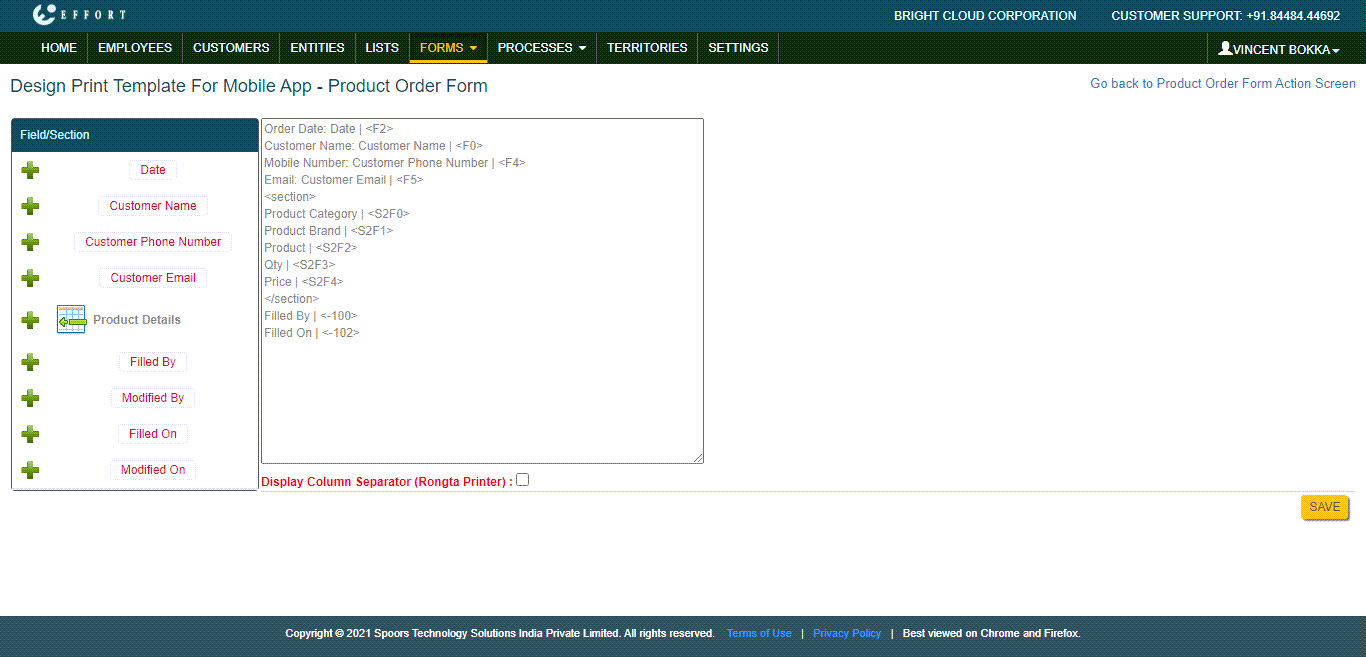
As you can see, we have added Order Date, Customer Information, Product Details, etc. The values in these fields will be populated when you print the template through the mobile app. - Click Save after completing the template design.
Check How The Designed Web Template Works
-
Navigate to . Click on the plus icon given on the Product Order Form
card.
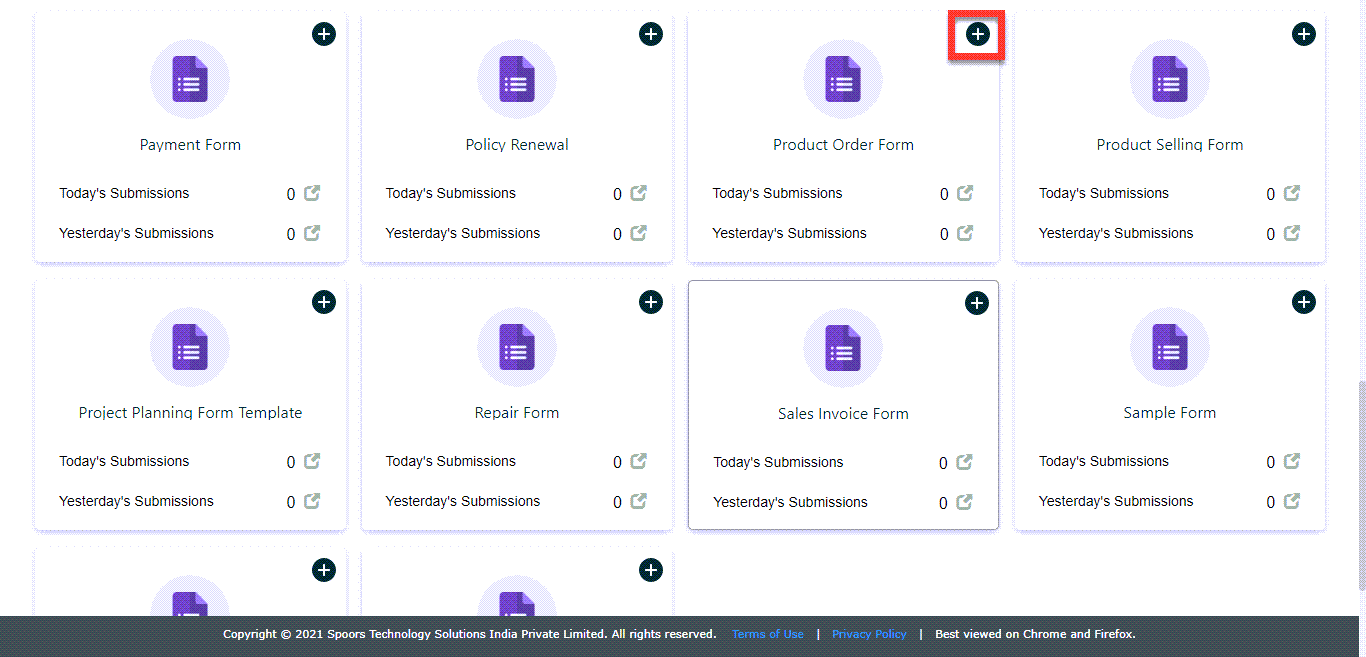
-
Fill out details in the form fields.
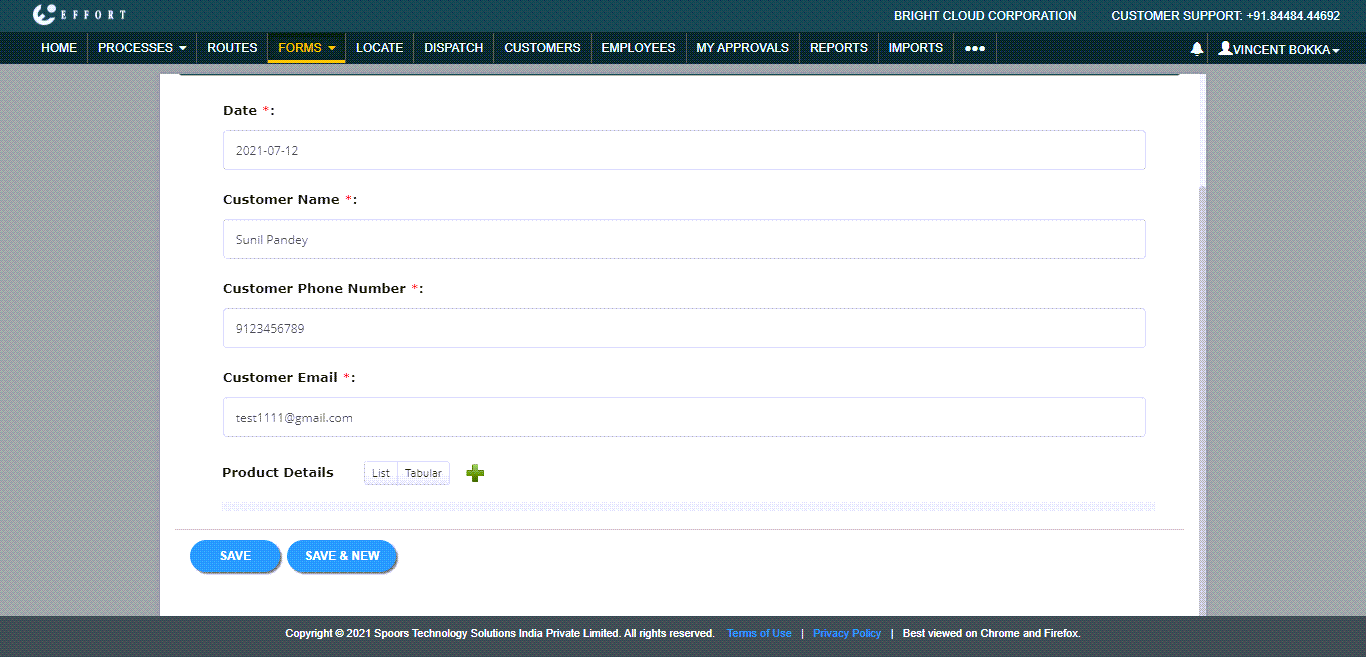
-
To add product details click plus icon.
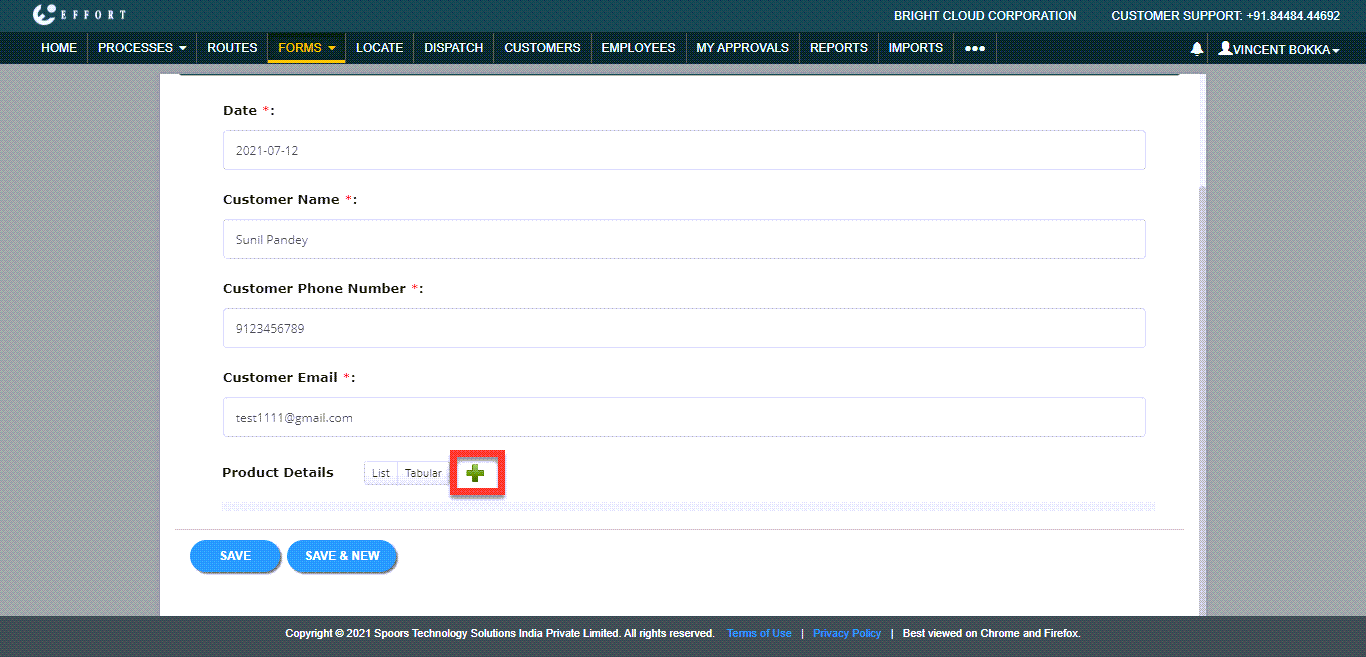
- Click Save after filling the form.
-
You can see the form submissions page. Click on the form ID under the ID
column to view the form submission details.
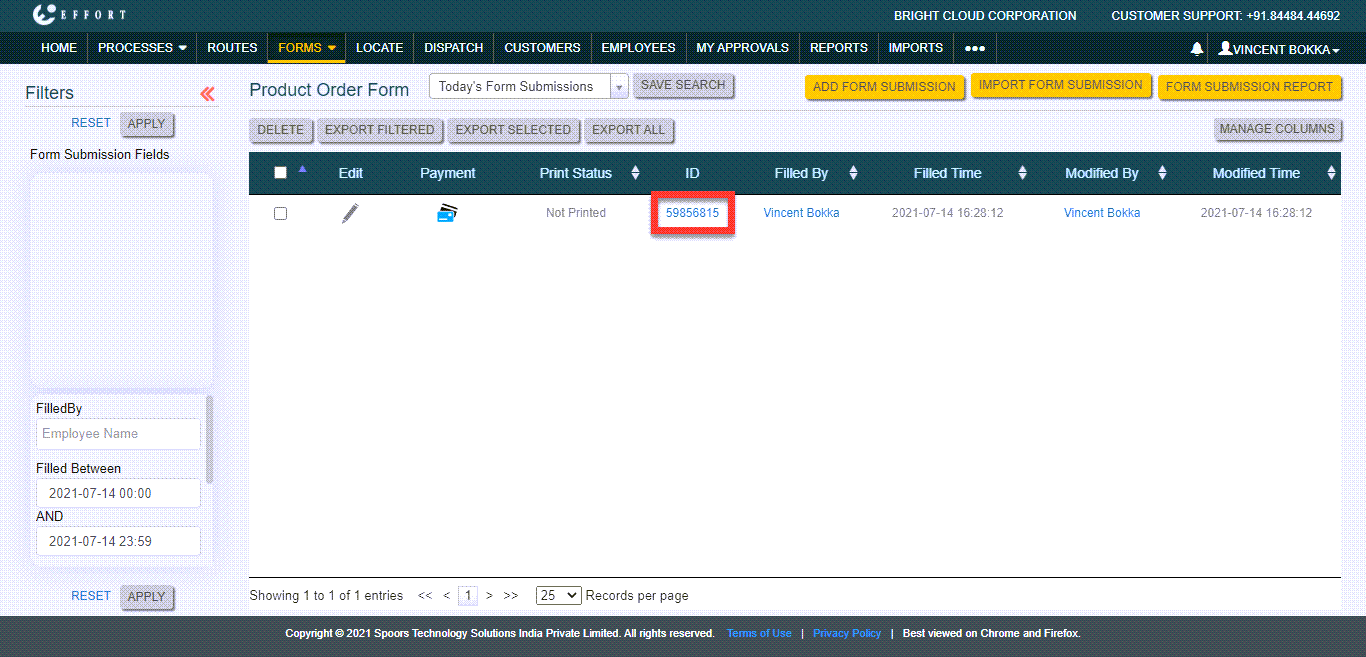
-
The order form page appears with all the form details. Click on the
Print Preview icon that is highlighted below.
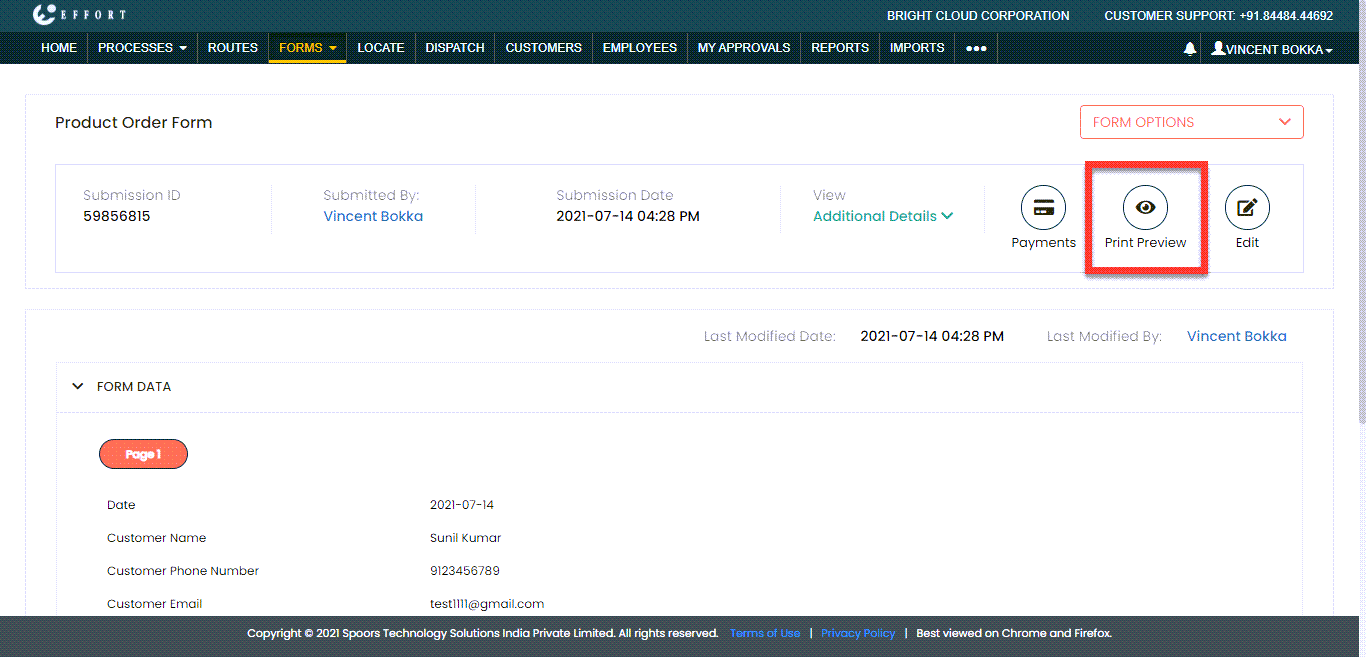
-
The preview appears in the design which we created earlier.
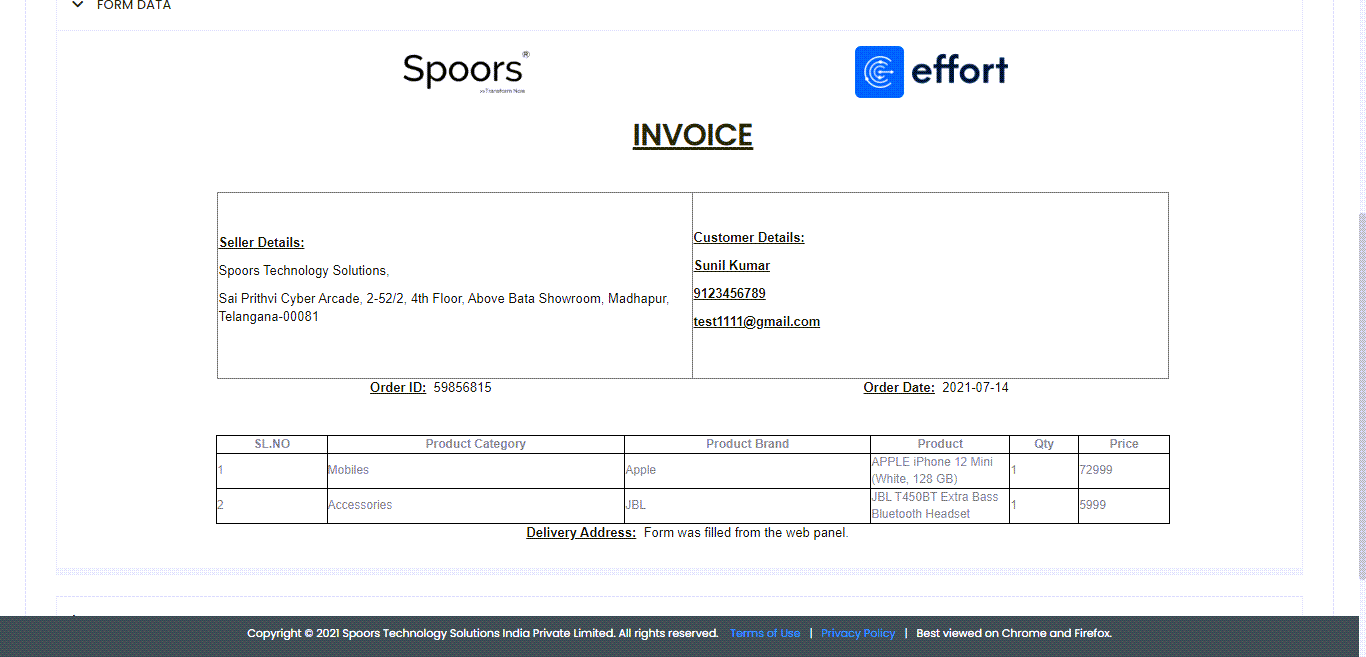
You can see how the logos, seller details, customer details, and product details got printed in the invoice. -
To get the hard copy of this print, click on the Print icon.
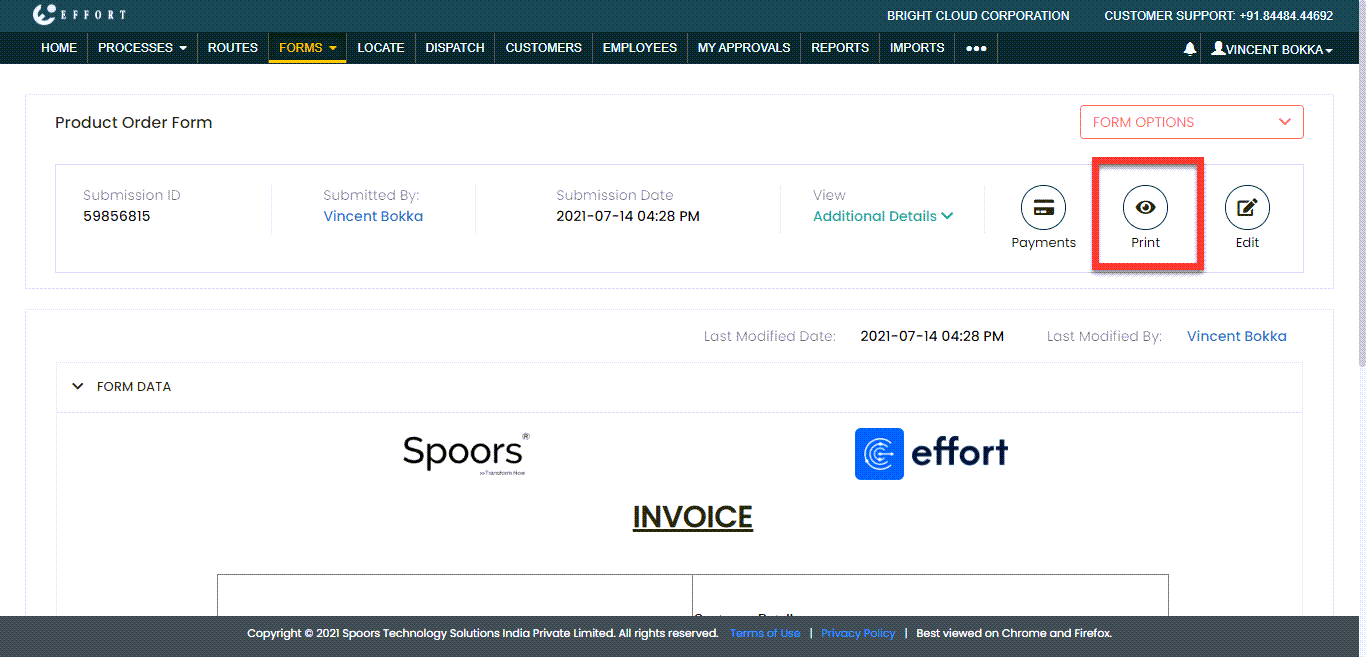
Look at the below to know how the receipt gets printed on the paper.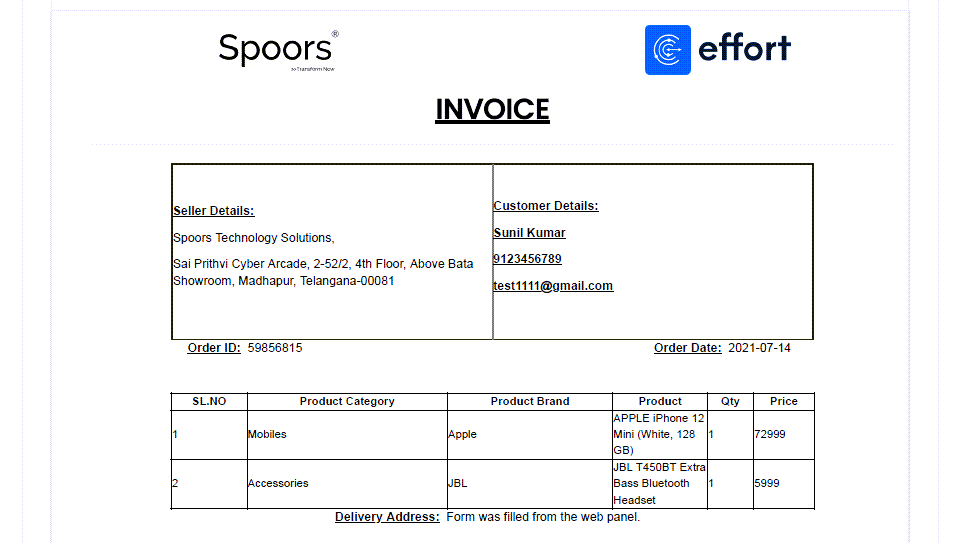
You can customize the design as per your business requirement. You can add logos, images, signatures, terms and conditions, and much more.
Check How The Designed Mobile Template Works
Here, we will submit an order form in the mobile app and check how the designed print template works when you print through the mobile app.
- Open the Effort Plus mobile app on your mobile.
-
Tap on the Forms tab to go to the Form page.
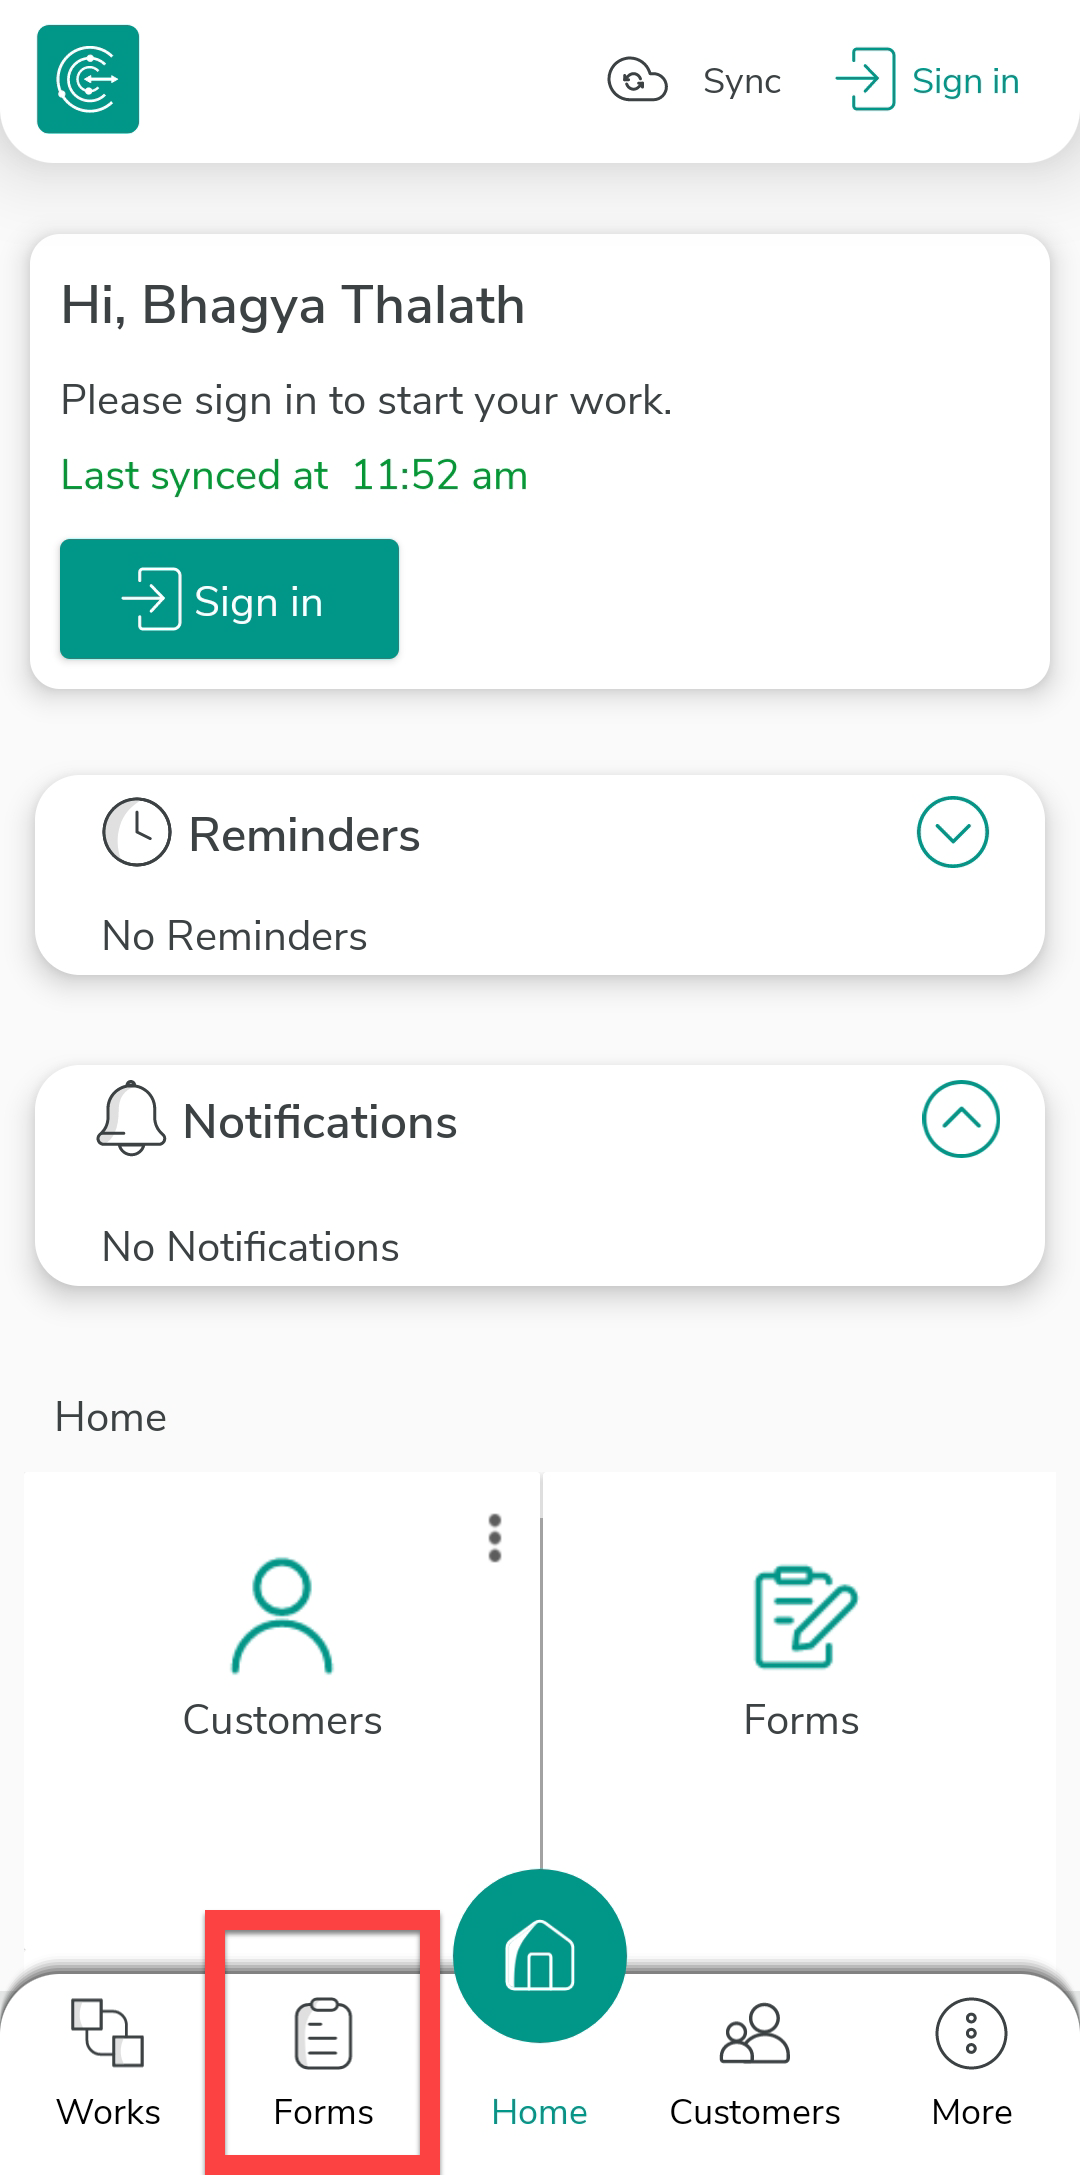
The forms page appears with all the available forms.
-
Tap on the Product Order Form.
-
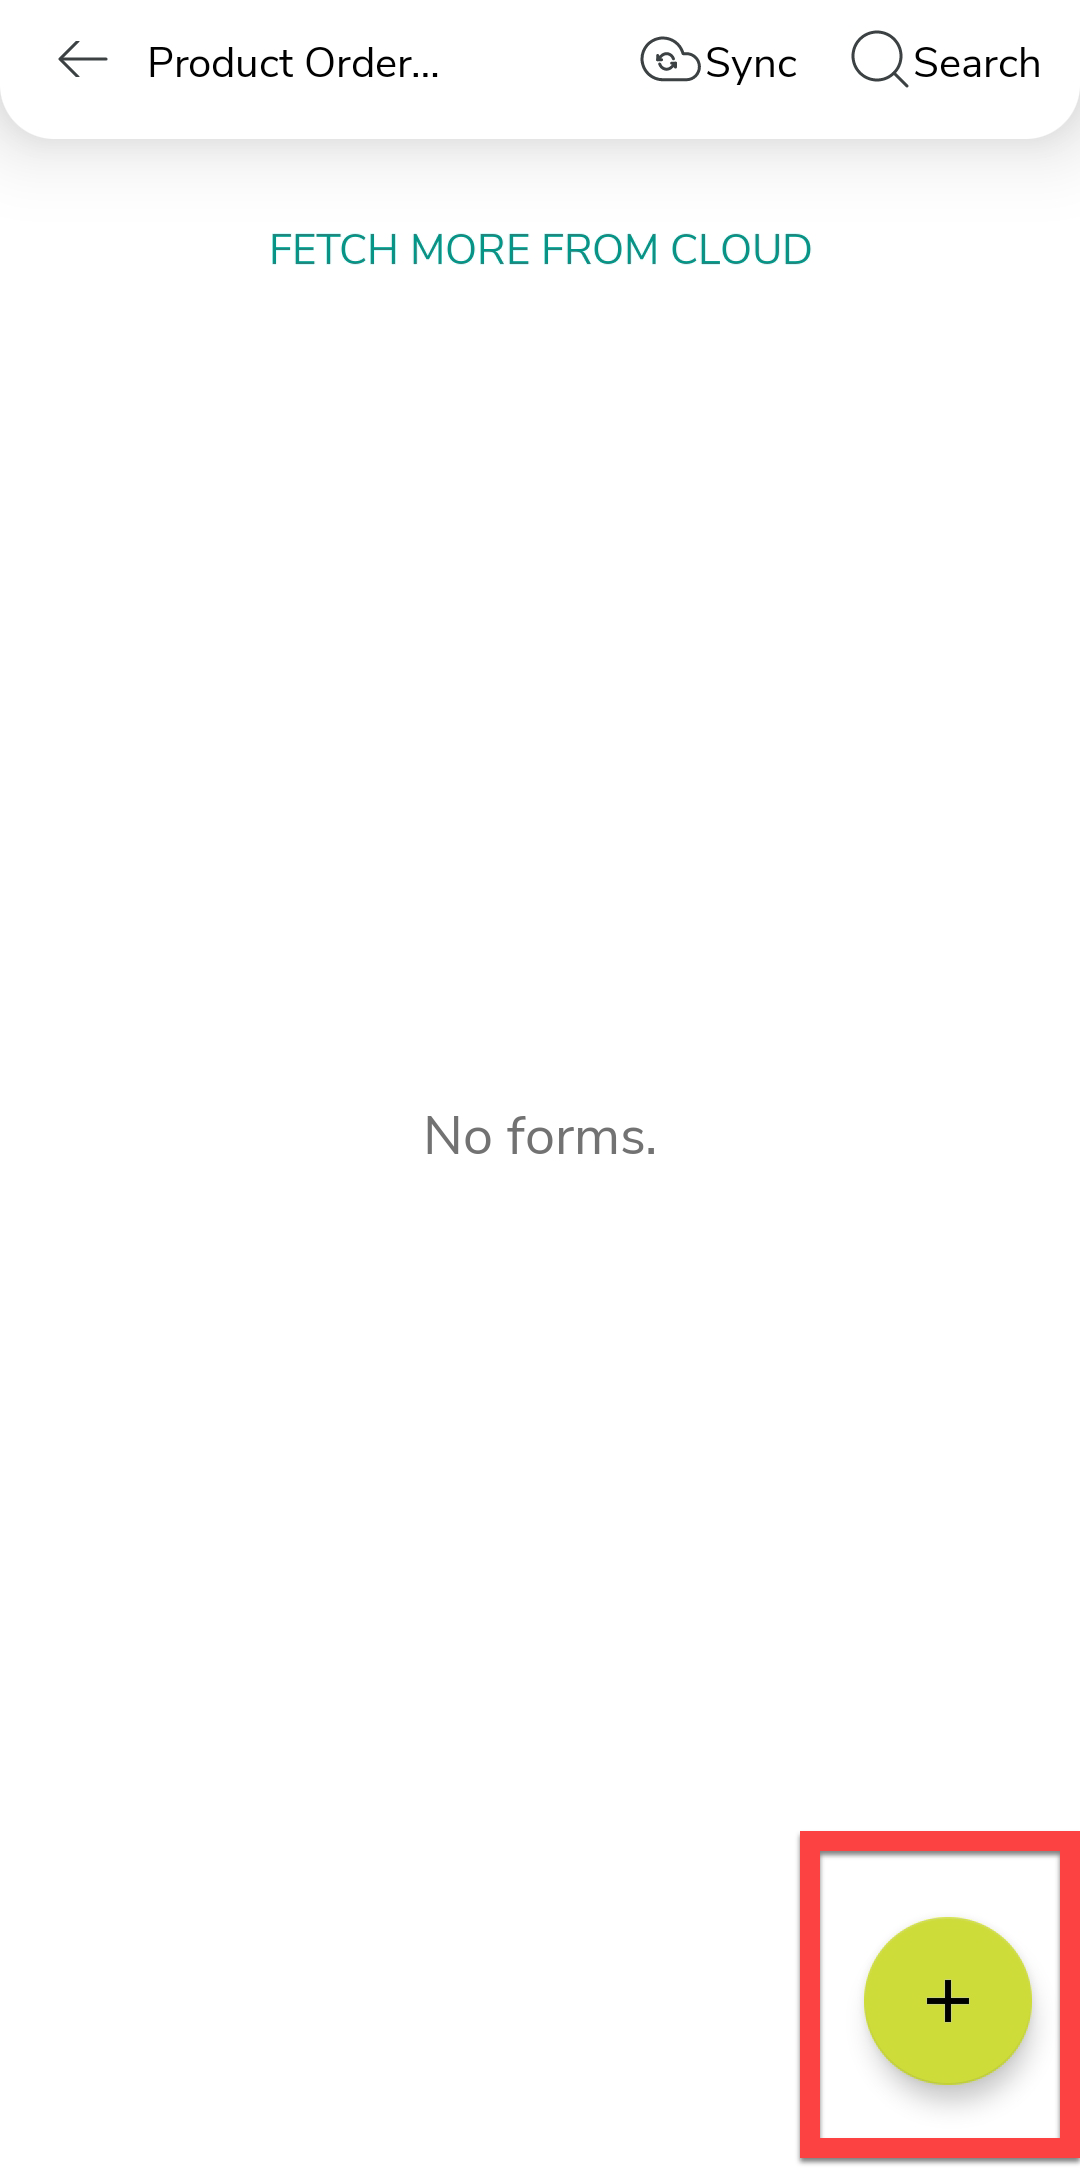
Tap the plus icon located at the bottom of the page.
-
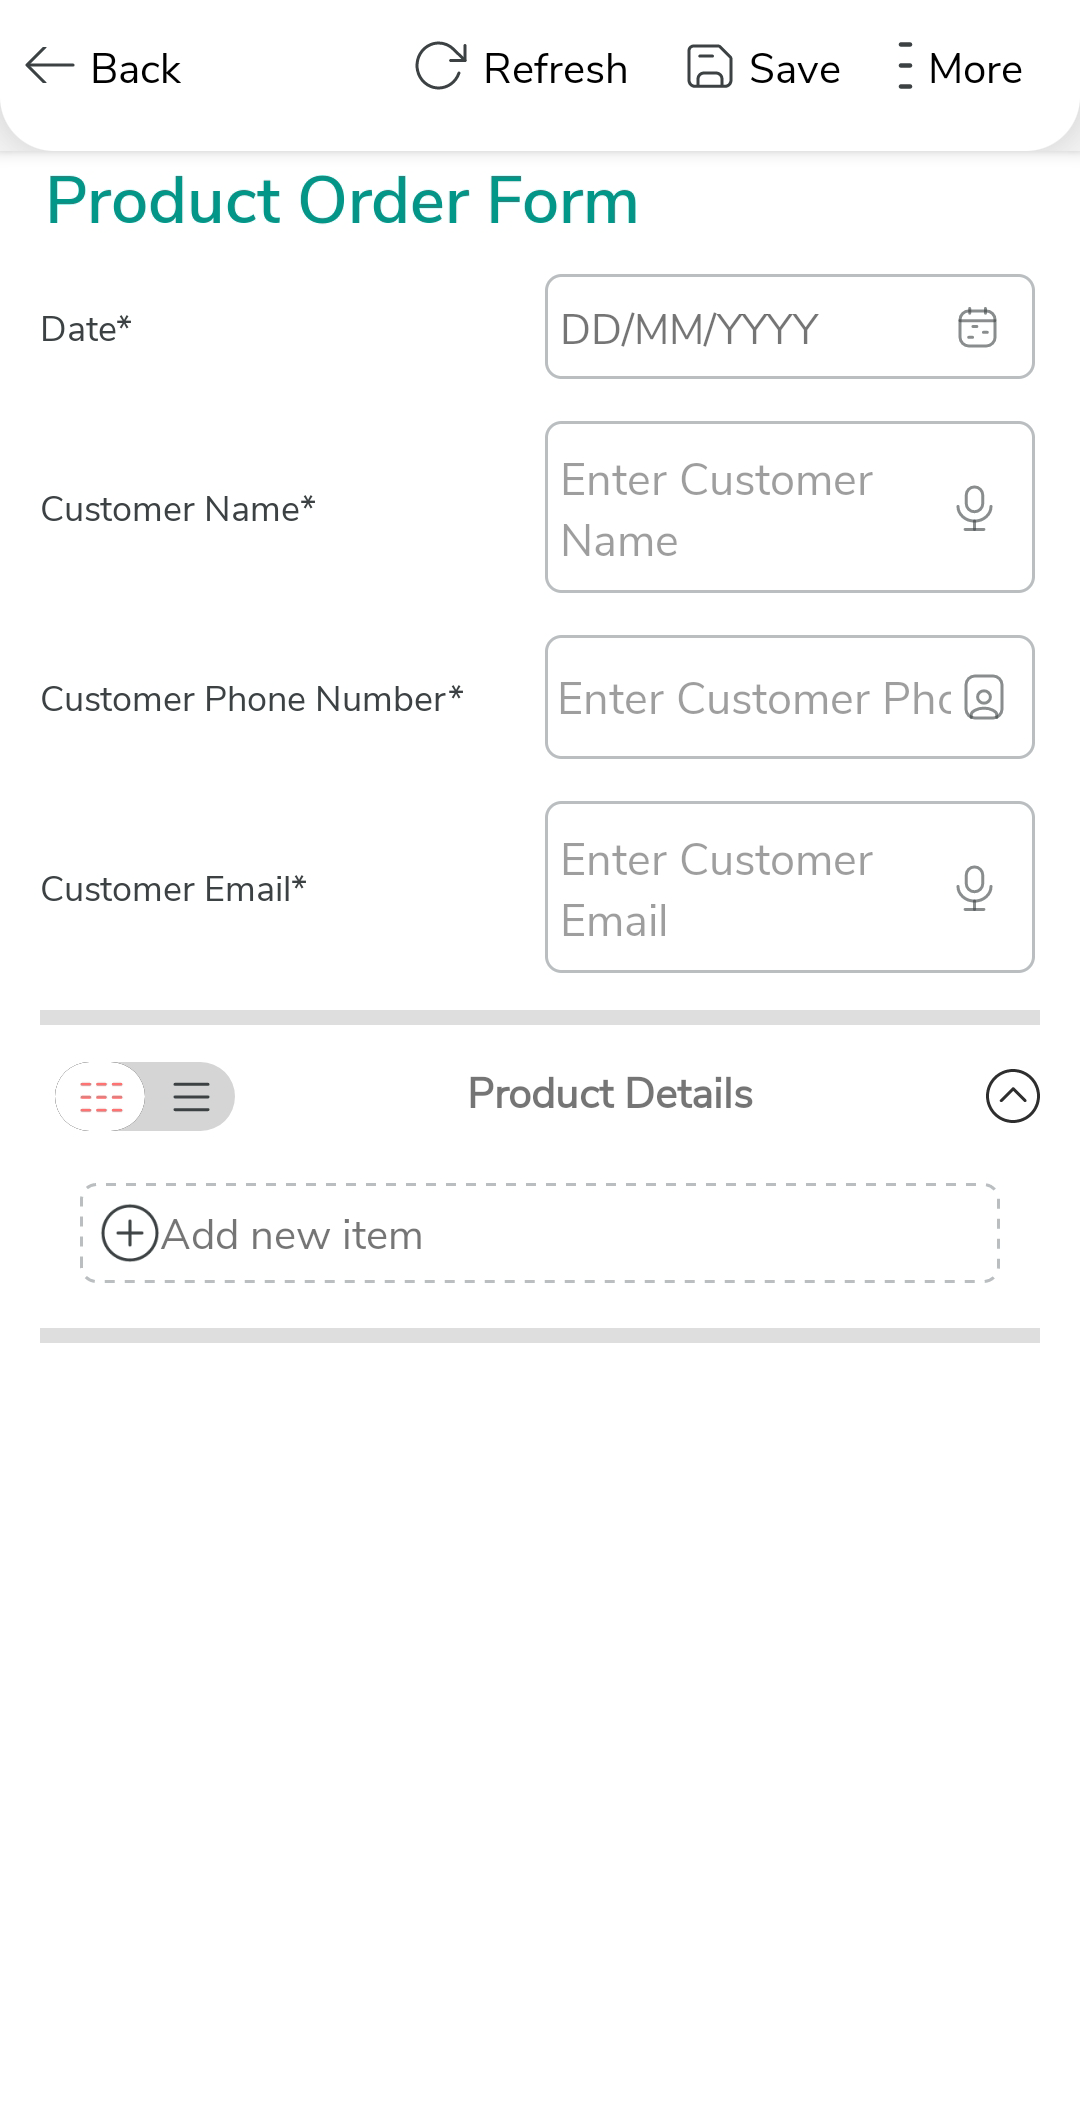
Fill in the form fields and Save.
-
You will see all the form submissions. Tap on form submission.
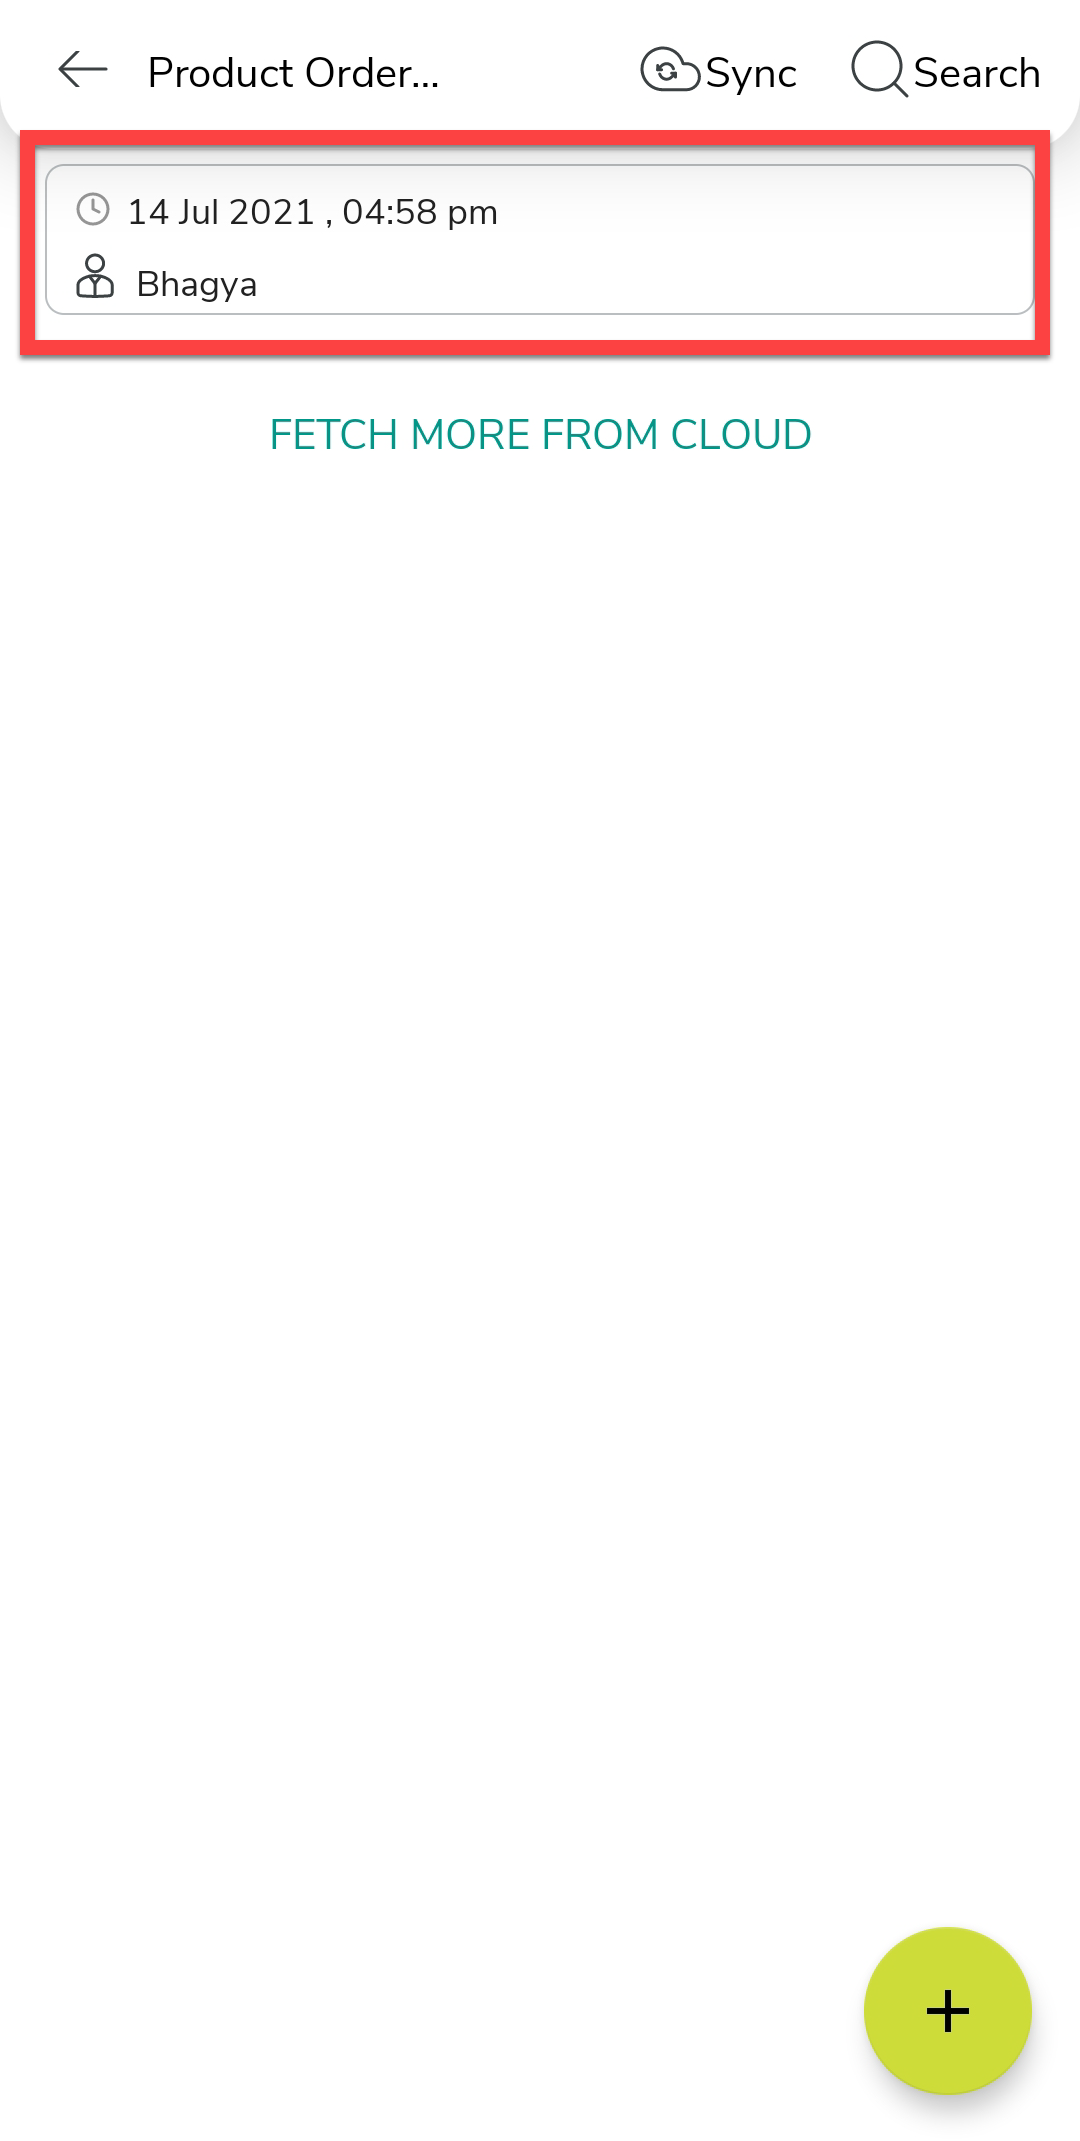
-
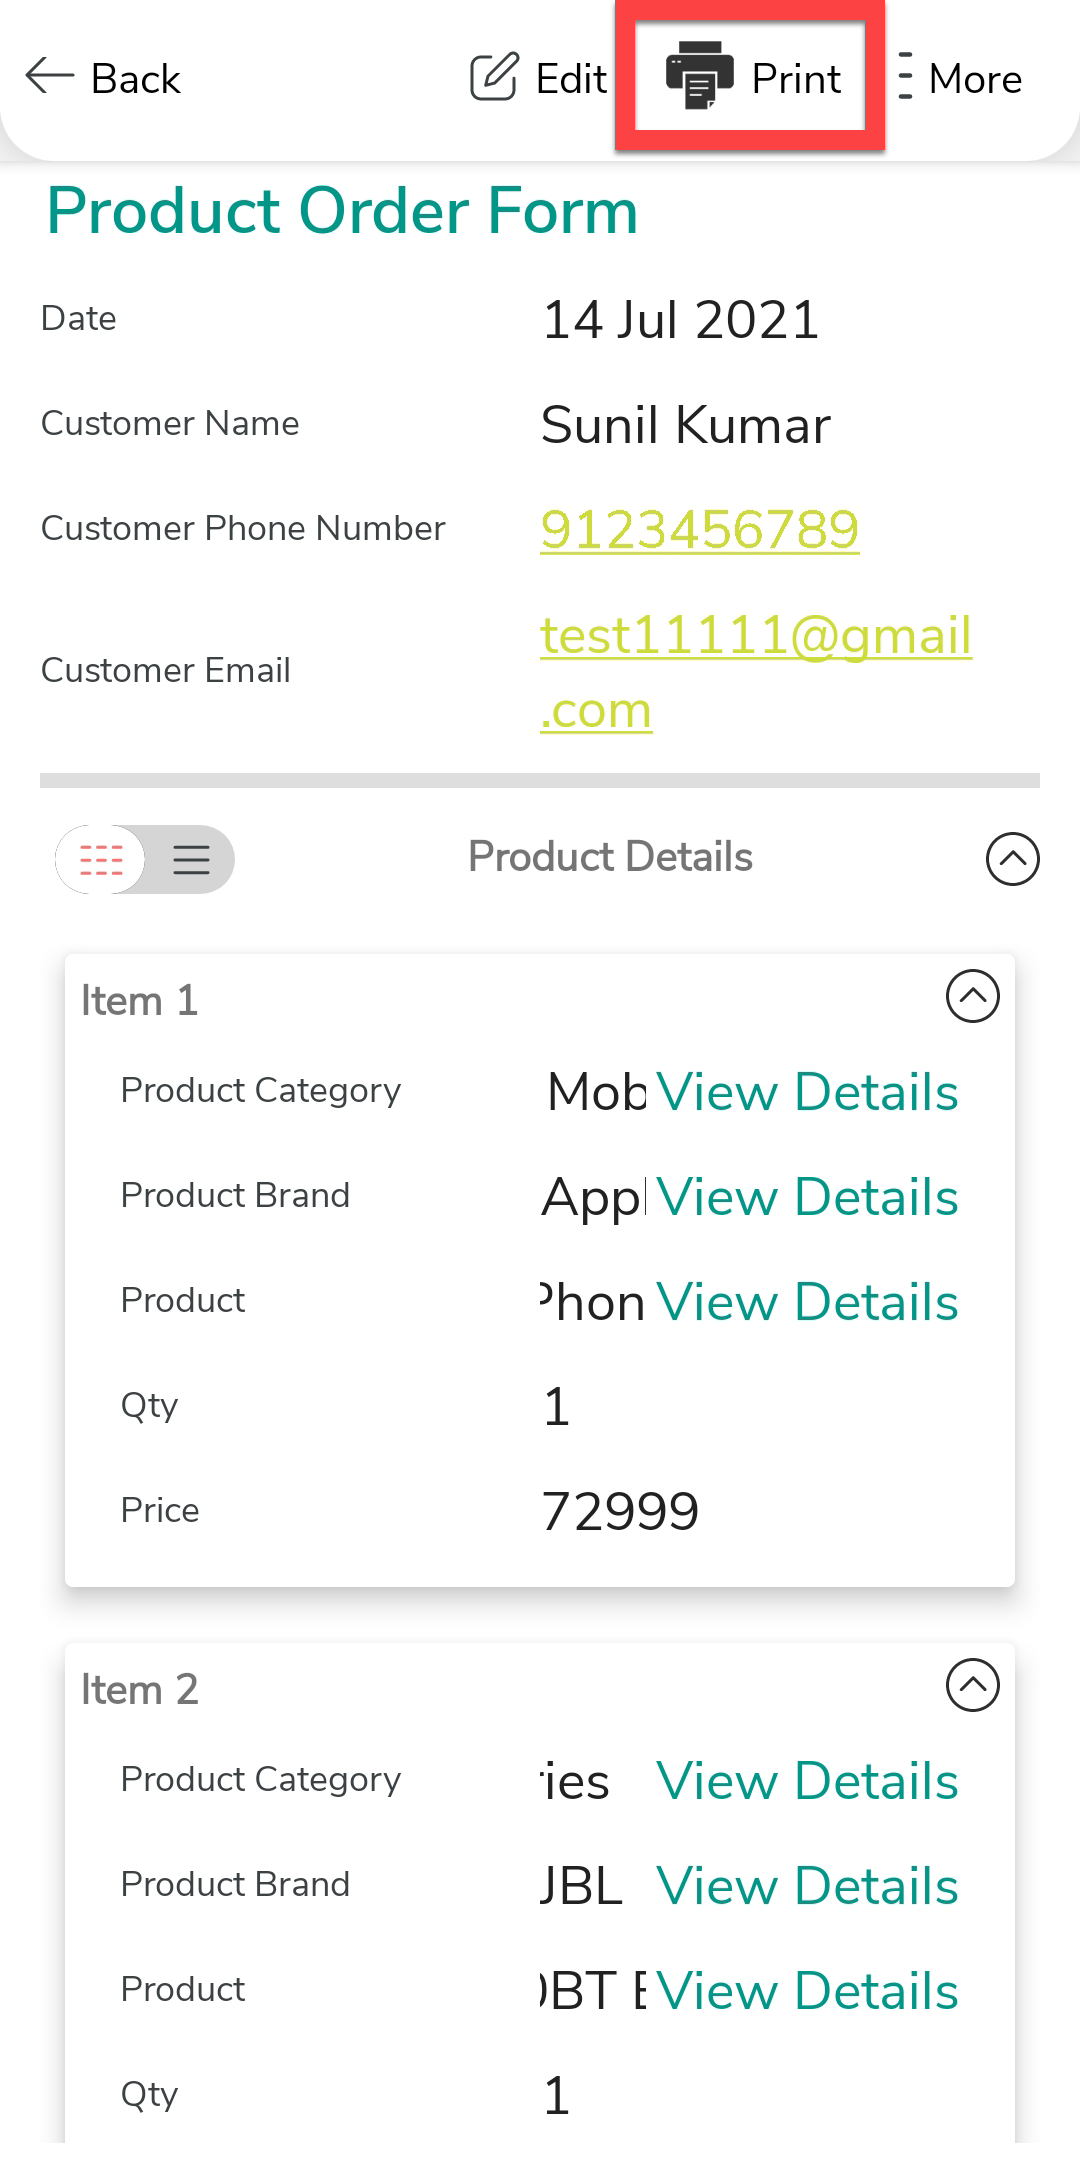
A screen appears with all the form details. Tap on the printer icon
 to print the invoice.